.svg)
.webp)
.svg)

.jpeg)
.webp)


.webp)


.avif)
.webp)
.webp)
.webp)


.avif)
Products
Brands
If you're considering using microcement in your next project, it's important to know the proper application techniques to achieve the desired results. This comprehensive guide will walk you through the step-by-step process of applying microcement, whether it's on floors, walls, bathrooms or swimming pools.
Microcement is a versatile and durable material that can be applied to various surfaces, including floors, walls, bathrooms and swimming pools. With the right techniques and tools, anyone can achieve a flawless finish that can last for years.
In this comprehensive guide, we will explore the step-by-step process for applying microcement, including tips and techniques for different surfaces.

Whether you’re a seasoned professional or a passionate DIYer, this comprehensive guide will walk you through the process of applying microcement with ease and precision. From surface preparation to the final finishing touches, we’ll provide you with clear instructions and helpful tips to ensure a successful application.
The initial step in the microcement application process involves ensuring that the surface is clean, dry, and smooth.
Apply the base coat of microcement with a trowel, making sure to cover the entire surface evenly. Let it dry for at least 24 hours.
Apply the second coat of microcement with a trowel, in the opposite direction of the first coat. Let it dry for at least 24 hours.
Sand the surface with a fine-grit sandpaper to smooth out any imperfections.
Apply a sealer to protect the surface and enhance its durability.
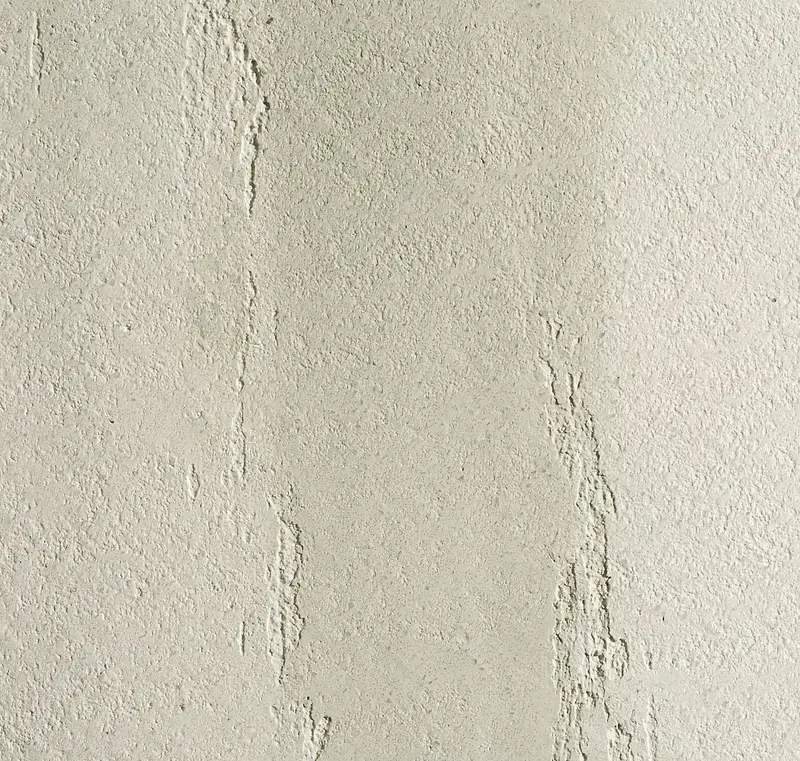
The finishing varnish is the final protective layer for the microcement.
Firstly, it’s crucial to ensure the surface is dust-free, grease-free, completely dry (without capillary or plaster/cement moisture), and as level or smooth as possible. Microcement can be applied on two types of surfaces: Walls or floors requiring a regularization procedure (for example, walls with tiles or cement plaster. For microcement floors, regularization is necessary regardless of the finish). Completely smooth surfaces (like smooth caulked walls or entirely smooth walls) In cases where floors and walls need regularization, additional preparation steps are required. However, for smooth walls, the process is quicker and less costly. After surface verification, the protective tape is applied.
The second step in applying microcement is applying the base coat. This coat acts as a foundation and ensures proper adhesion of the microcement.
Here’s how to do it:
Once the base coat is dry, it’s time to apply the second coat of microcement. This coat will provide the desired color and texture to the surface. Follow these steps:
After the second coat has dried, sanding is necessary to achieve a smooth and even surface. Here’s what you should do:
Sealing protects the microcement from stains, water damage, and enhances its durability.
The sealer eliminates absorption from the microcement and starts to develop the waterproof characteristic. It also intensifies the final color of the microcement. A short-haired roller can be used for an easy application.
Follow these steps to seal the microcement:
The finishing varnish is the final protective layer for the microcement. This is essential for ensuring complete water resistance of the microcement, making it resistant to any standard cleaning product (like bleach, ammonia, anti-lime).
There are three types of varnish available in the market: shiny, matte, and satin. Manufacturers typically recommend shiny finishes for floors and matte or satin for walls. The product is also applied using a short-haired roller, and it’s advised to apply 2 to 3 layers.
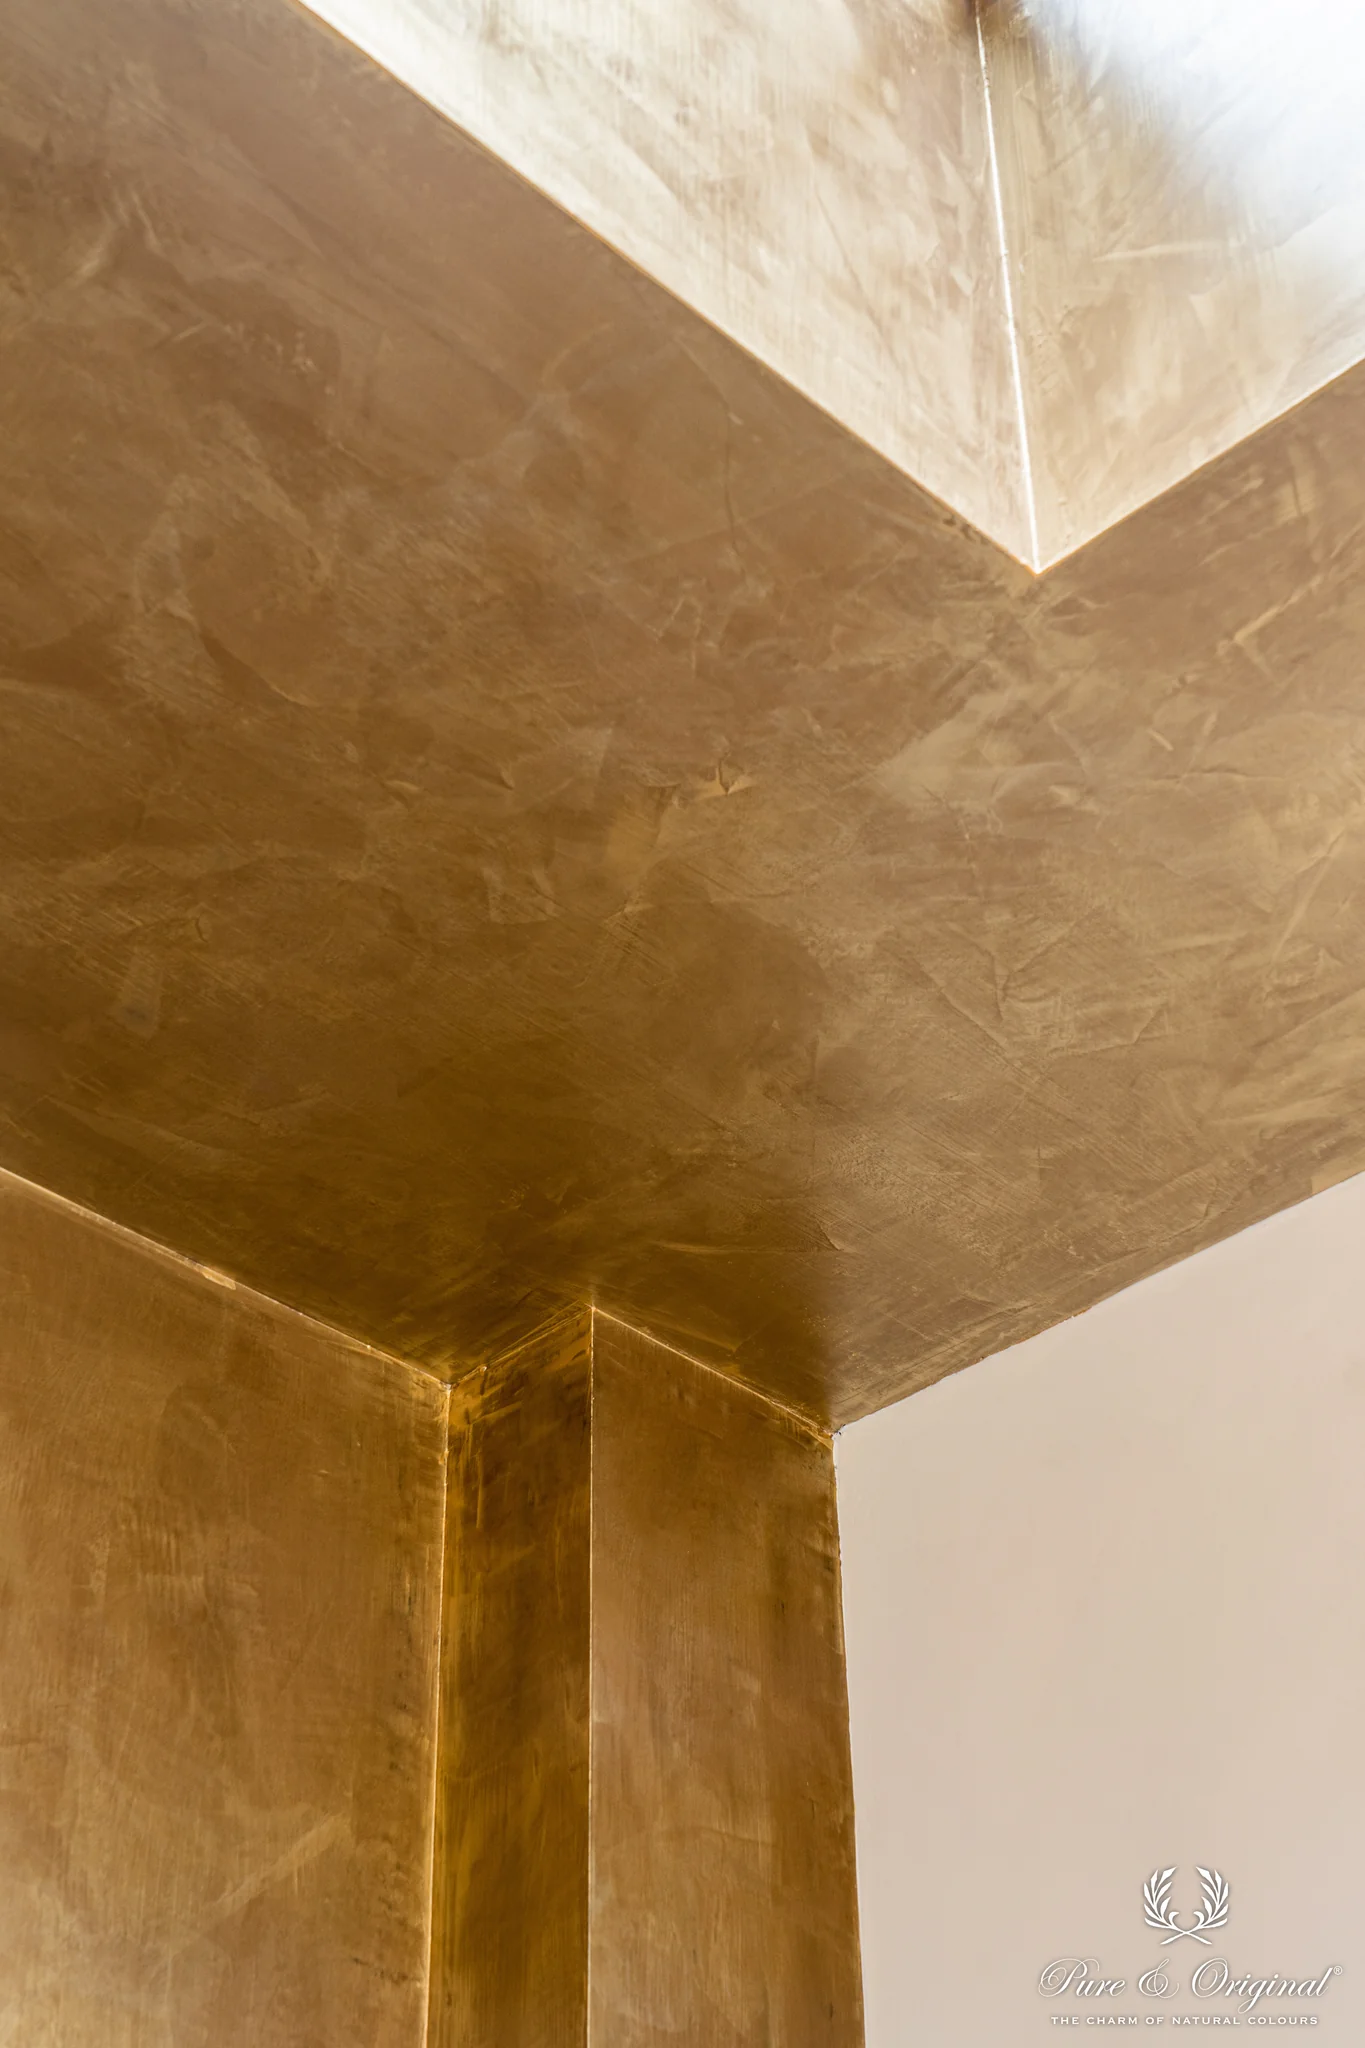
Unleash the versatility of this stylish material as we provide step-by-step instructions and expert tips for achieving seamless finishes in any space. In this section we will explore the techniques, considerations, and best practices for applying microcement on walls, floors, bathrooms, and swimming pools.
Microcement can be applied on both interior and exterior walls. Here are the steps for applying microcement on walls:
Remember, microcement application on walls requires skill and precision. If you’re unsure about the process or want to ensure professional results, it’s recommended to seek the services of experienced microcement installers who can provide expert guidance and achieve the desired finish.
Topcret’s team of professionals can assist you in achieving the perfect microcement finish on your walls. With their expertise, they can handle the entire application process, from surface preparation to the final sealing, ensuring a high-quality and stunning result.
By following these steps and seeking professional assistance if needed, you can successfully apply microcement on your walls and enjoy a durable, versatile, and aesthetically pleasing finish that will elevate the look of your space.
Microcement is also a great choice for interior and exterior walls. To apply microcement to walls, begin by preparing the surface by cleaning and repairing any imperfections. Once the surface is clean and dry, apply a primer and let it dry completely.
Next, use a trowel to apply the first coat of microcement evenly over the entire surface of the wall. Allow the first coat to dry for at least 24 hours before applying the second coat in the opposite direction. After the second coat has dried, use a fine-grit sandpaper to smooth out any imperfections.
Finally, apply a sealer to protect the surface and enhance its durability. With proper application and maintenance, microcement can provide a beautiful and long-lasting finish for your walls.

Microcement can be applied on both indoor and outdoor floors. The process is similar to the general application process, but some additional steps may be required when applying microcement on outdoor surfaces. Here are the steps for applying microcement on floors:
Before applying microcement, it is crucial to properly prepare the surface to ensure a successful installation. The following steps will help you prepare your floor for microcement application:
Now that the surface is properly prepared, it’s time to apply the microcement. This process typically involves several coats to achieve the desired finish. Follow these steps for a successful microcement application:
After the microcement has dried, it’s time to finish and seal the surface. This step enhances the appearance of the microcement and protects it from stains and wear. Follow these steps to finish and seal the microcement:
After completing the microcement application and sealing process, it’s essential to allow the microcement to cure and establish its full strength. Follow these guidelines for curing and maintaining your microcement floor
Microcement is a versatile material that can be used on both indoor and outdoor floors. While the application process is similar, there are some additional steps to consider for outdoor floors.
Before applying microcement, it’s important to properly prepare the surface by cleaning and repairing any imperfections. Next, apply a primer to the surface and allow it to dry. Once the primer has dried, use a trowel to apply the first coat of microcement evenly over the entire surface. Allow the first coat to dry for at least 24 hours before applying the second coat in the opposite direction.
Once both coats have dried, use a fine-grit sandpaper to smooth out any imperfections before applying a sealer to protect and enhance the durability of the surface.
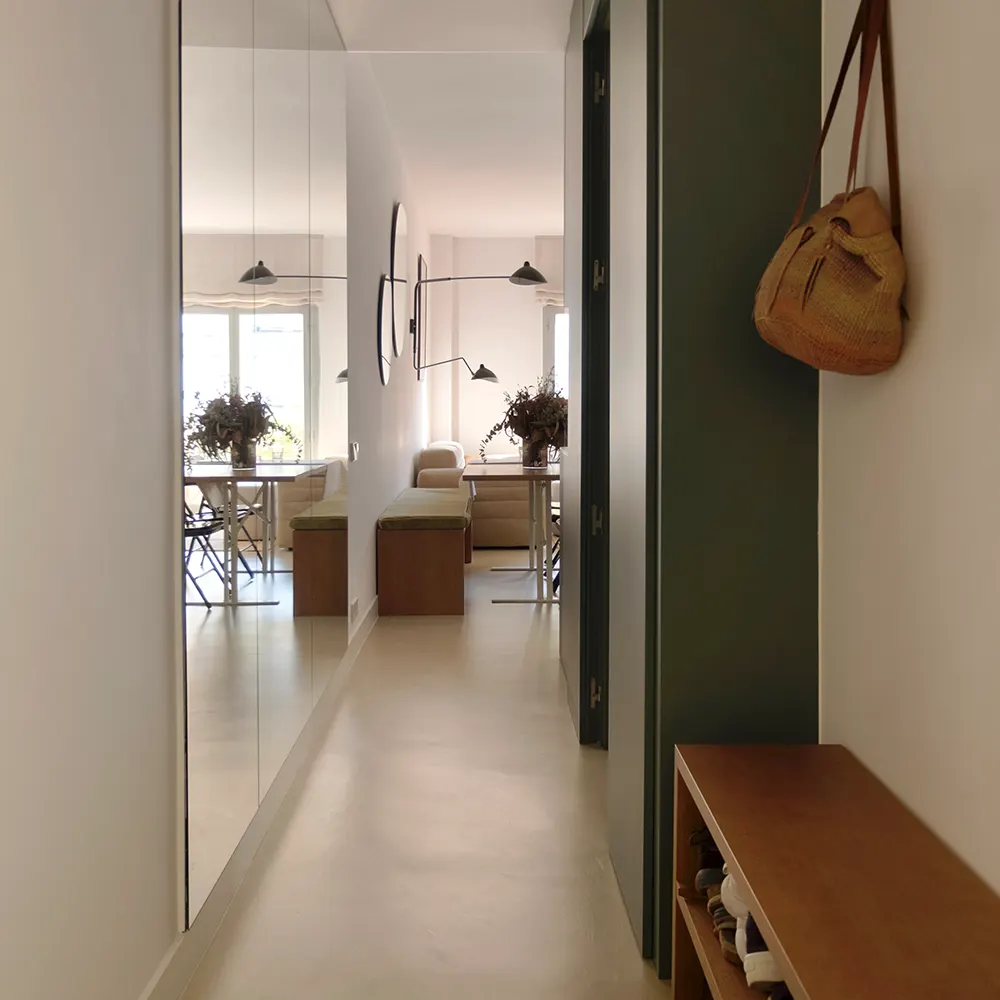
Creating a microcement bathroom, including areas like a microcement shower, involves a meticulous approach, but the results are stunningly modern and stylish. The process starts with surface preparation, ensuring it is clean, dry, and free from any dirt, grease, or debris. Repair any imperfections and prime the surface thoroughly.
Remember, the key to a successful microcement application is patience and attention to detail. Each step in the process is crucial and should not be rushed. With the right approach, you can transform your bathroom into a modern, stylish space with a durable and waterproof microcement finish.
Microcement can also be used in swimming pools, providing a waterproof and durable finish. Here are the steps for applying microcement in swimming pools:
By following these steps, you can successfully apply microcement to your pool surface, creating a seamless and durable finish. It is important to consult with professionals or experienced installers for guidance or assistance to ensure the best results and the longevity of the microcement pool.
When it comes to microcement application, there are several technical considerations to keep in mind. One of the most critical factors is substrate preparation. The substrate must be clean, dry, and free of any contaminants, such as oil, grease, or dust. If the substrate is not properly prepared, the microcement may not adhere correctly, resulting in an uneven or patchy finish.
Another essential technical consideration is the mixing of the microcement. It’s important to follow the manufacturer’s instructions carefully and ensure that the microcement is mixed thoroughly to ensure consistent colour and texture.
Finally, the application technique is also crucial. Microcement should be applied in thin, even layers using a trowel or a spray gun.
The layers should be allowed to dry completely before the next layer is applied, and the surface should be sanded lightly between layers to ensure proper adhesion.
When it comes to microcement applications, there’s no better option than Topcret’s professional installation services. Topcret is a leading company in the microcement industry, offering not only high-quality products but also expert installation services.
It’s important to note that Topcret’s microcement products are only applied by their team of highly skilled and trained professional installers.
These installers are equipped with the latest techniques, materials, and equipment to ensure a perfect finish every time. By choosing Topcret’s professional application services, you can have peace of mind knowing that your microcement will be installed quickly, efficiently, and with the utmost attention to detail.
Whether you’re looking to install microcement on your floors, walls, or even a swimming pool, Topcret’s team of professionals can help you achieve the perfect finish.
With their expertise, you can trust that your microcement application will not only look beautiful but also last for years to come. Avoid any potential microcement issues by relying on Topcret for flawless installation.
Embrace the transformative potential of microcement, a versatile material that offers a seamless, modern finish for a variety of surfaces. From floors and walls to bathrooms and swimming pools, microcement provides a durable and aesthetically pleasing solution for both residential and commercial spaces.
Our comprehensive guide ensures a flawless application process, but for optimal results, we recommend the expertise of our professional microcement installers. Their precision and skill guarantee a high-quality finish that stands the test of time.
At Topcret, we are committed to delivering the highest quality microcement products and expert installation services. Discover the transformative power of microcement and elevate your space with a modern, stylish, and durable finish. Experience the future of design with Topcret.
If you’re interested in microcement for your home or business, contact us today to learn more about our products and services.


.webp)
.webp)


.webp)


.webp)

.webp)

.webp)
.webp)


.webp)